How to seal the joints of black sandwich panels?
Sep 22, 2025
Leave a message
Hey there! As a supplier of Black Sandwich Panels, I've had my fair share of experiences dealing with these amazing building materials. One of the most common questions I get from customers is how to seal the joints of black sandwich panels. Well, you're in luck because I'm gonna share all the tips and tricks I've picked up over the years to help you get the job done right.
Why Sealing the Joints Matters
First off, let's talk about why sealing the joints of black sandwich panels is so important. These panels are often used in construction projects for their insulation properties, durability, and aesthetic appeal. However, if the joints aren't properly sealed, you could end up with a whole host of problems.
For starters, unsealed joints can allow air and moisture to seep into the panels, which can reduce their insulation efficiency. This means you'll have to spend more on heating and cooling your building to maintain a comfortable temperature. Additionally, moisture can cause the panels to warp, rot, or develop mold and mildew, which can compromise their structural integrity and pose a health risk to occupants.
Sealing the joints also helps to prevent pests and insects from getting inside the panels. These critters can chew through the insulation and wiring, causing damage and potentially starting a fire. By creating a tight seal, you can keep your building safe and pest-free.
Choosing the Right Sealant
Now that you know why sealing the joints is important, let's talk about how to choose the right sealant. There are several types of sealants available on the market, each with its own unique properties and applications. Here are some factors to consider when choosing a sealant for your black sandwich panels:
- Compatibility: Make sure the sealant you choose is compatible with the material of your black sandwich panels. Some sealants may react with certain types of panels, causing them to discolor or degrade over time.
- Weather Resistance: Since your black sandwich panels will be exposed to the elements, it's important to choose a sealant that can withstand extreme temperatures, UV rays, and moisture. Look for a sealant that is labeled as weather-resistant or waterproof.
- Flexibility: Black sandwich panels can expand and contract with changes in temperature and humidity. To prevent the sealant from cracking or peeling, choose a flexible sealant that can move with the panels.
- Adhesion: The sealant should have strong adhesion to the panels to ensure a tight seal. Look for a sealant that is labeled as high-strength or permanent.
Some common types of sealants used for black sandwich panels include silicone, polyurethane, and acrylic. Silicone sealants are known for their excellent weather resistance and flexibility, making them a popular choice for outdoor applications. Polyurethane sealants are strong and durable, with good adhesion to a variety of surfaces. Acrylic sealants are easy to apply and clean up, but they may not be as durable as silicone or polyurethane sealants.
Preparing the Joints
Before you start sealing the joints of your black sandwich panels, it's important to prepare the surfaces properly. This will help to ensure a strong bond between the sealant and the panels. Here's how to prepare the joints:
- Clean the Surfaces: Use a clean, dry cloth to remove any dirt, dust, or debris from the joints. You can also use a mild detergent and water to clean the surfaces, but make sure to rinse them thoroughly and allow them to dry completely before applying the sealant.
- Remove Any Old Sealant: If there is any old sealant on the joints, use a putty knife or scraper to remove it. Make sure to clean the surfaces again after removing the old sealant to remove any residue.
- Mask the Surrounding Areas: To prevent the sealant from getting on the surrounding areas of the panels, use masking tape to cover the edges of the joints. Make sure to press the tape firmly against the panels to create a tight seal.
Applying the Sealant
Once you've prepared the joints, it's time to apply the sealant. Here's how to do it:
- Cut the Nozzle: Use a utility knife to cut the nozzle of the sealant tube at a 45-degree angle. The size of the opening will depend on the width of the joint. For narrow joints, cut the nozzle to a smaller opening, and for wider joints, cut the nozzle to a larger opening.
- Apply the Sealant: Hold the sealant tube at a 45-degree angle to the joint and apply a continuous bead of sealant along the entire length of the joint. Make sure to apply enough sealant to fill the joint completely, but not so much that it spills over onto the surrounding areas.
- Smooth the Sealant: Use a putty knife or your finger to smooth the sealant and remove any excess. Make sure to create a smooth, even surface that is flush with the panels.
- Remove the Masking Tape: Once you've applied the sealant, carefully remove the masking tape while the sealant is still wet. This will help to create a clean, professional-looking finish.
Curing and Drying
After you've applied the sealant, it's important to allow it to cure and dry properly. The curing time will depend on the type of sealant you used and the environmental conditions. Here are some general guidelines:
- Silicone Sealants: Silicone sealants typically take 24 to 48 hours to cure completely. During this time, avoid exposing the sealant to water or moisture.
- Polyurethane Sealants: Polyurethane sealants usually take 24 to 72 hours to cure completely. Make sure to follow the manufacturer's instructions for curing time and temperature.
- Acrylic Sealants: Acrylic sealants typically dry within a few hours, but they may take up to 24 hours to cure completely. Avoid exposing the sealant to water or moisture until it has cured.
Maintenance and Inspection
Once the sealant has cured and dried, it's important to maintain and inspect it regularly to ensure it continues to provide a tight seal. Here are some tips for maintaining and inspecting the sealant:
- Clean the Sealant: Use a mild detergent and water to clean the sealant periodically. This will help to remove any dirt, dust, or debris that may accumulate on the surface.
- Inspect the Sealant: Check the sealant regularly for any signs of damage or wear. If you notice any cracks, peeling, or gaps in the sealant, it's important to repair or replace it as soon as possible.
- Reapply the Sealant: Over time, the sealant may start to degrade or lose its effectiveness. Depending on the type of sealant and the environmental conditions, you may need to reapply the sealant every few years to maintain a tight seal.
Conclusion
Sealing the joints of black sandwich panels is an important step in ensuring their performance and longevity. By choosing the right sealant, preparing the joints properly, applying the sealant correctly, and maintaining and inspecting it regularly, you can create a tight seal that will protect your building from air, moisture, pests, and insects.
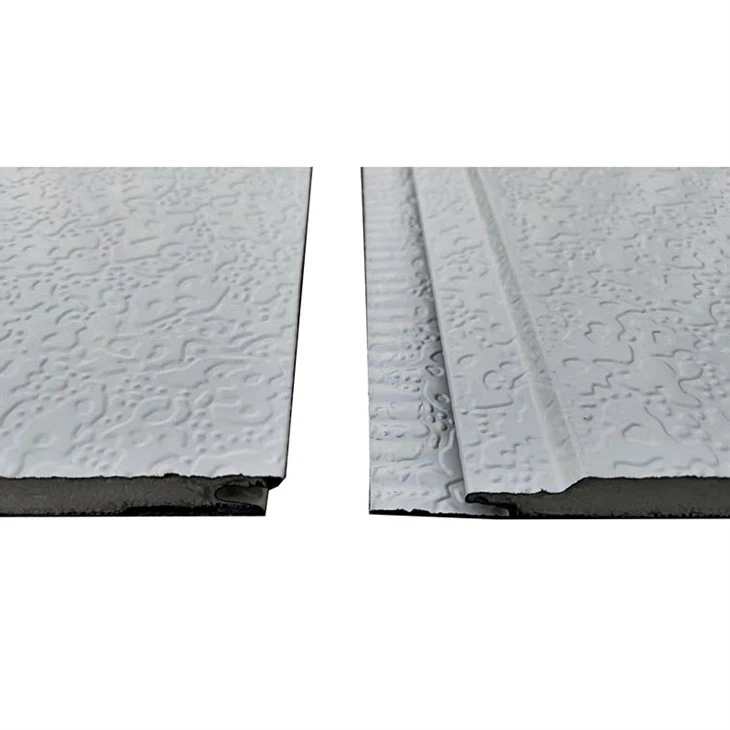
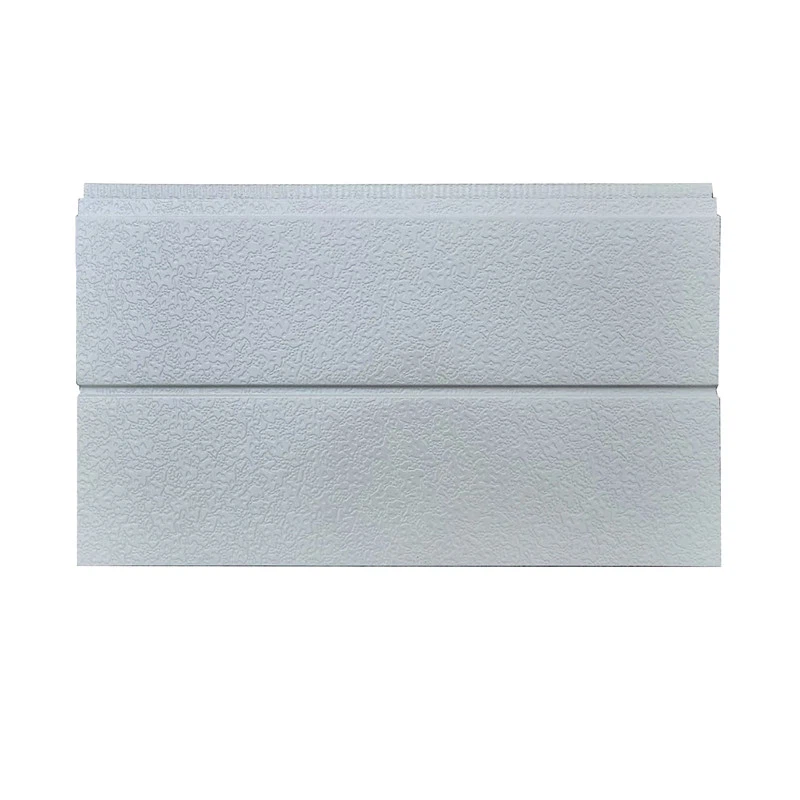
If you're looking for high-quality black sandwich panels or other building materials, check out our Black Sandwich Panel products. We also offer White Interior Wall Decorative Board and Decorative Exterior Insulation Panels to meet your specific needs.
If you have any questions or need further assistance, please don't hesitate to contact us. We're here to help you with all your building material needs.
References
- "Sealing Techniques for Sandwich Panels." Construction Materials Handbook.
- "Choosing the Right Sealant for Your Building Project." Building Materials Magazine.
- "How to Seal Joints in Building Panels." DIY Construction Guide.