

How to install the underlayment for pc roof tiles?
Oct 15, 2025
Leave a message
Installing underlayment for PC roof tiles is a crucial step in ensuring the longevity and performance of your roofing system. As a trusted PC roof tile supplier, I've witnessed firsthand the difference a well - installed underlayment can make. In this blog, I'll guide you through the process of installing underlayment for PC roof tiles, providing you with the knowledge and tips you need for a successful installation.
Understanding the Importance of Underlayment
Before delving into the installation process, it's essential to understand why underlayment is so important. Underlayment serves as an extra layer of protection between your PC roof tiles and the roof deck. It helps to prevent water infiltration, which can lead to leaks, rot, and damage to the underlying structure. Additionally, it provides a smooth surface for the roof tiles to be installed on, reducing the risk of scratches and damage during the installation process. Underlayment also acts as a barrier against wind - driven rain and can help to improve the energy efficiency of your home by providing an additional layer of insulation.
Choosing the Right Underlayment
There are several types of underlayment available on the market, each with its own set of advantages and disadvantages. When choosing an underlayment for PC roof tiles, it's important to consider factors such as the climate in your area, the slope of your roof, and your budget.
- Asphalt - saturated felt: This is one of the most common types of underlayment. It's relatively inexpensive and provides good protection against water. However, it can be prone to tearing and may not be the best choice for areas with high winds or heavy rainfall.
- Synthetic underlayment: Synthetic underlayments are more durable than asphalt - saturated felt. They are resistant to tearing, UV rays, and mold, and they offer better protection against water. They are also lighter in weight, which can make installation easier. However, they are generally more expensive than asphalt - saturated felt.
- Rubberized asphalt underlayment: This type of underlayment is highly resistant to water and provides excellent protection against ice dams. It's a good choice for areas with cold climates and heavy snowfall. However, it can be more difficult to install than other types of underlayment and is also more expensive.
As a PC roof tile supplier, I can recommend the best underlayment for your specific needs based on the type of PC roof tiles you choose, such as Grey Transparent PC Roof Tile, Transparent PC Roof Tile, or Lake Blue PC Transparent Roof Tile.
Preparing for Installation
Before you start installing the underlayment, you need to prepare the roof deck. First, make sure the roof deck is clean, dry, and free of any debris. Remove any nails, screws, or other protrusions that could damage the underlayment. If the roof deck has any damaged or rotten areas, repair or replace them before proceeding with the installation.
Next, measure the roof to determine how much underlayment you'll need. It's a good idea to buy a little extra to account for any mistakes or overlaps. You'll also need to gather the necessary tools, including a utility knife, stapler or roofing nails, a ladder, and safety equipment such as gloves and goggles.
Installing the Underlayment
- Start at the eaves: Begin by rolling out the underlayment at the eaves (the lower edge of the roof). Make sure the underlayment is straight and aligned with the edge of the roof. Use a stapler or roofing nails to secure the underlayment to the roof deck, placing the fasteners about 6 inches apart along the edges and 12 inches apart in the field.
- Overlap the sheets: When you reach the end of a roll, unroll the next sheet of underlayment so that it overlaps the previous sheet by at least 2 inches. This overlap helps to prevent water from seeping through the seams. Secure the overlapping sheet with staples or nails.
- Work your way up the roof: Continue rolling out and securing the underlayment in rows, working your way up the roof. Make sure each row is straight and aligned with the previous one. As you approach the ridge (the peak of the roof), cut the underlayment to fit.
- Cut around obstacles: If there are any obstacles on the roof, such as chimneys, vents, or skylights, you'll need to cut the underlayment to fit around them. Use a utility knife to make precise cuts, and then secure the underlayment around the obstacle with staples or nails.
- Seal the edges and seams: To provide additional protection against water infiltration, you can seal the edges and seams of the underlayment with a roofing sealant. Apply the sealant along the edges of the underlayment and over the overlapped seams.
Tips for a Successful Installation
- Follow the manufacturer's instructions: Different types of underlayment may have specific installation instructions. Make sure to read and follow the manufacturer's instructions carefully to ensure a proper installation.
- Use proper safety equipment: Installing underlayment on a roof can be dangerous. Always wear safety equipment such as gloves, goggles, and a harness if necessary. Make sure your ladder is stable and secure before climbing.
- Check for damage: Before installing the PC roof tiles, inspect the underlayment for any damage. If you find any tears or holes, repair them immediately to prevent water from getting through.
After Installation
Once the underlayment is installed, you're ready to install the PC roof tiles. Make sure to follow the installation instructions for the specific type of PC roof tiles you've chosen. After the roof tiles are installed, inspect the roof regularly to check for any signs of damage or wear. If you notice any issues, such as leaks or loose tiles, address them promptly to prevent further damage.
As a PC roof tile supplier, I'm committed to providing you with high - quality products and the information you need to install them correctly. Whether you're a professional roofer or a DIY enthusiast, I can help you choose the right PC roof tiles and underlayment for your project.

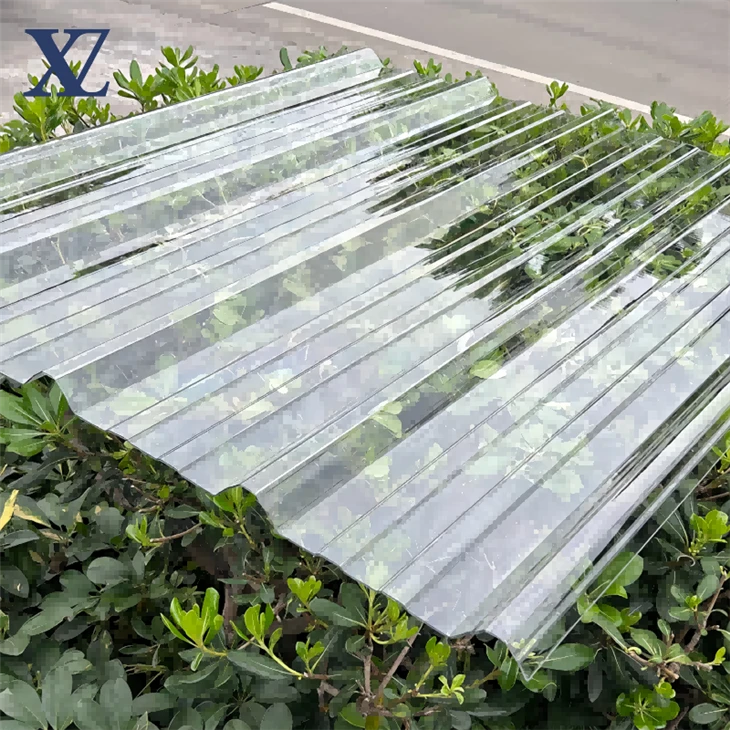
If you're interested in purchasing PC roof tiles or have any questions about the installation process, I encourage you to contact me for a consultation. We can discuss your specific needs and budget, and I'll provide you with a detailed quote. Let's work together to create a beautiful and durable roof for your home or building.
References
- "Roofing Underlayment: A Guide to Types and Installation" - Home Improvement Journal
- "The Importance of Underlayment in Roofing Systems" - Building Construction Magazine
- Manufacturer's installation guides for various types of underlayment and PC roof tiles.